24 March 2015
DIY :: Tissue Paper Tassels
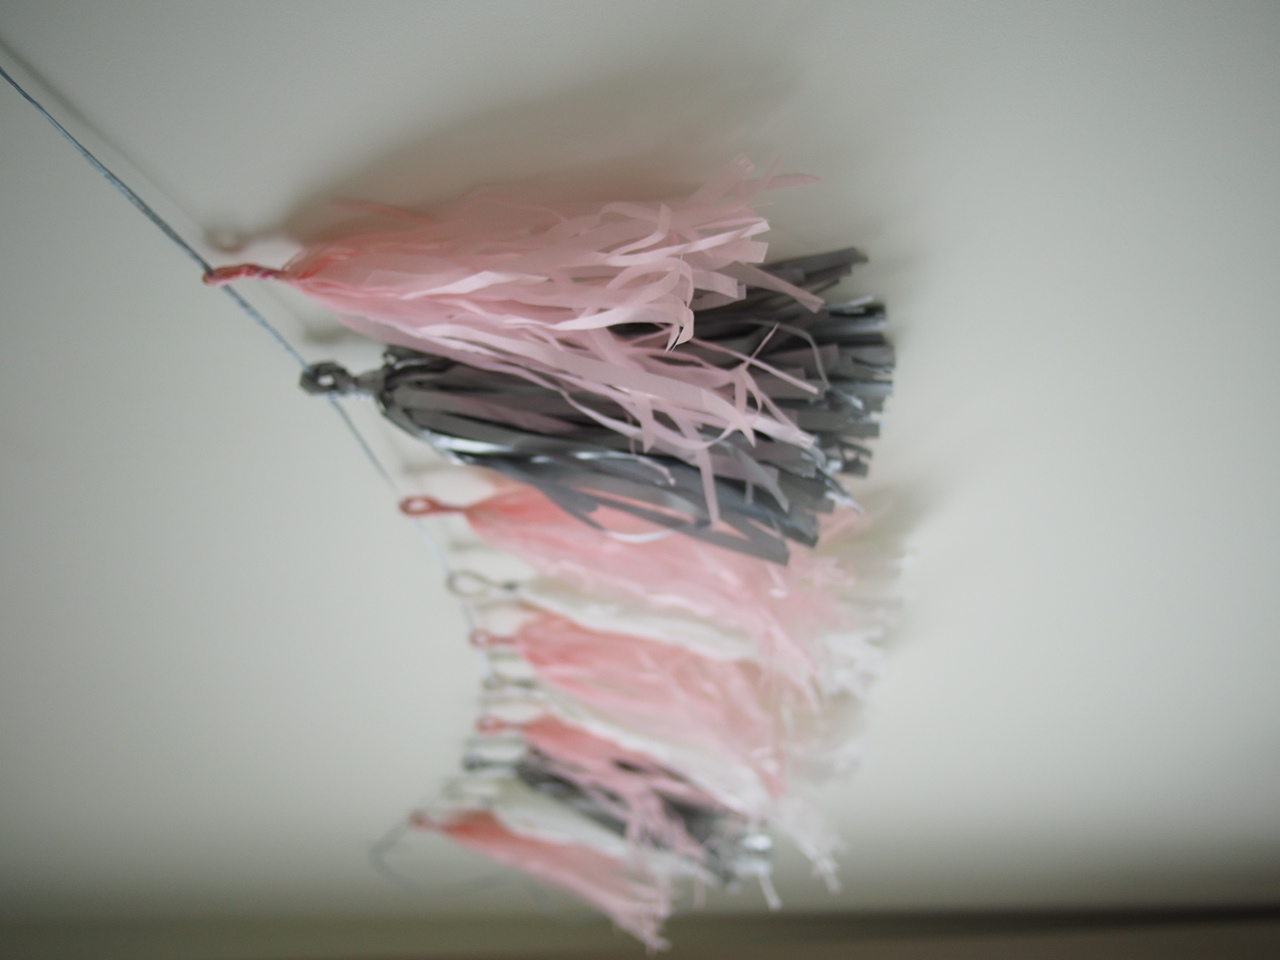
One of our favorite must-haves in every play room and party is an awesome backdrop. They make for nice pictures and helps to tie the colors of the theme together nicely!!
Inspired by the gorgeousness over at Confetti System, we are going to dig into our craft bag and make some tissue paper tassels today!

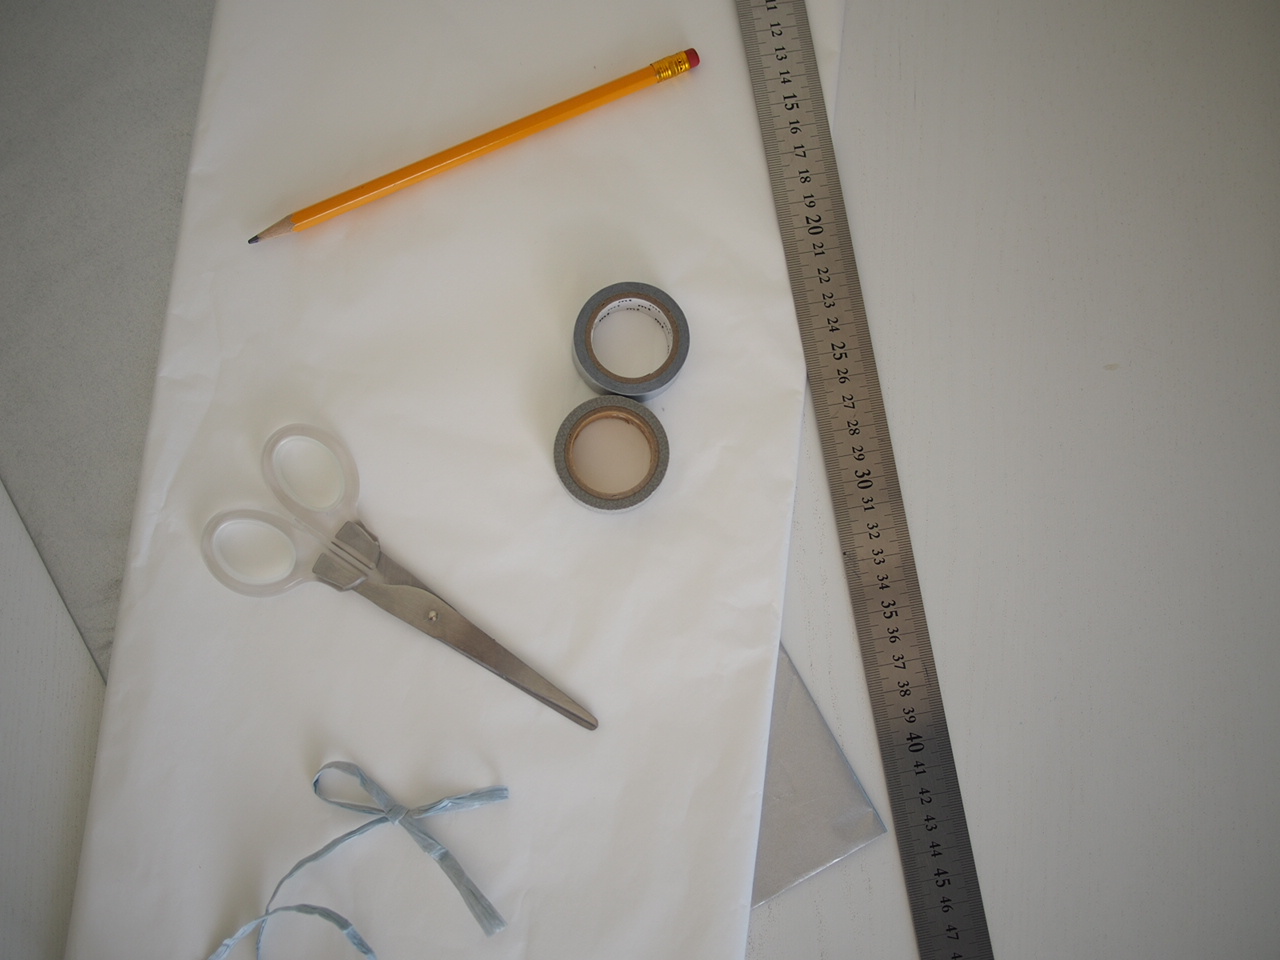
What you need :: Colored Tissue Paper (the kind retails stores use to wrap your purchases in), Scissors, Ribbon, Washi Tape, Ruler and Pencil.
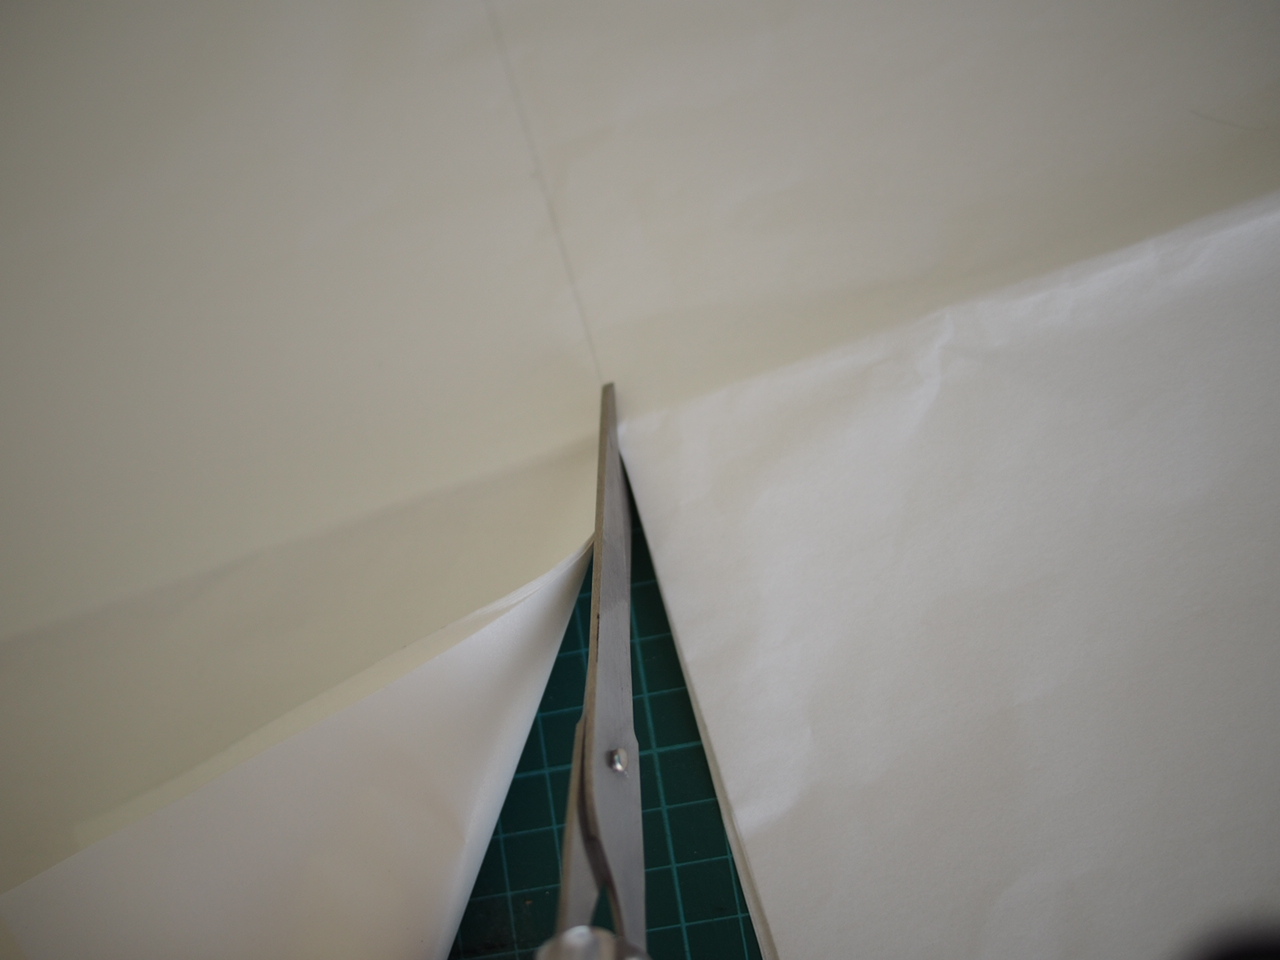
Pick up?(5) pieces of tissue paper, and cut them to 75 cm in height and 25 cm in width.
Fold it?so you have a 37.5 cm height and 25 cm width rectangle (see left). Don't worry about creases because when you shred it, it won't matter!!
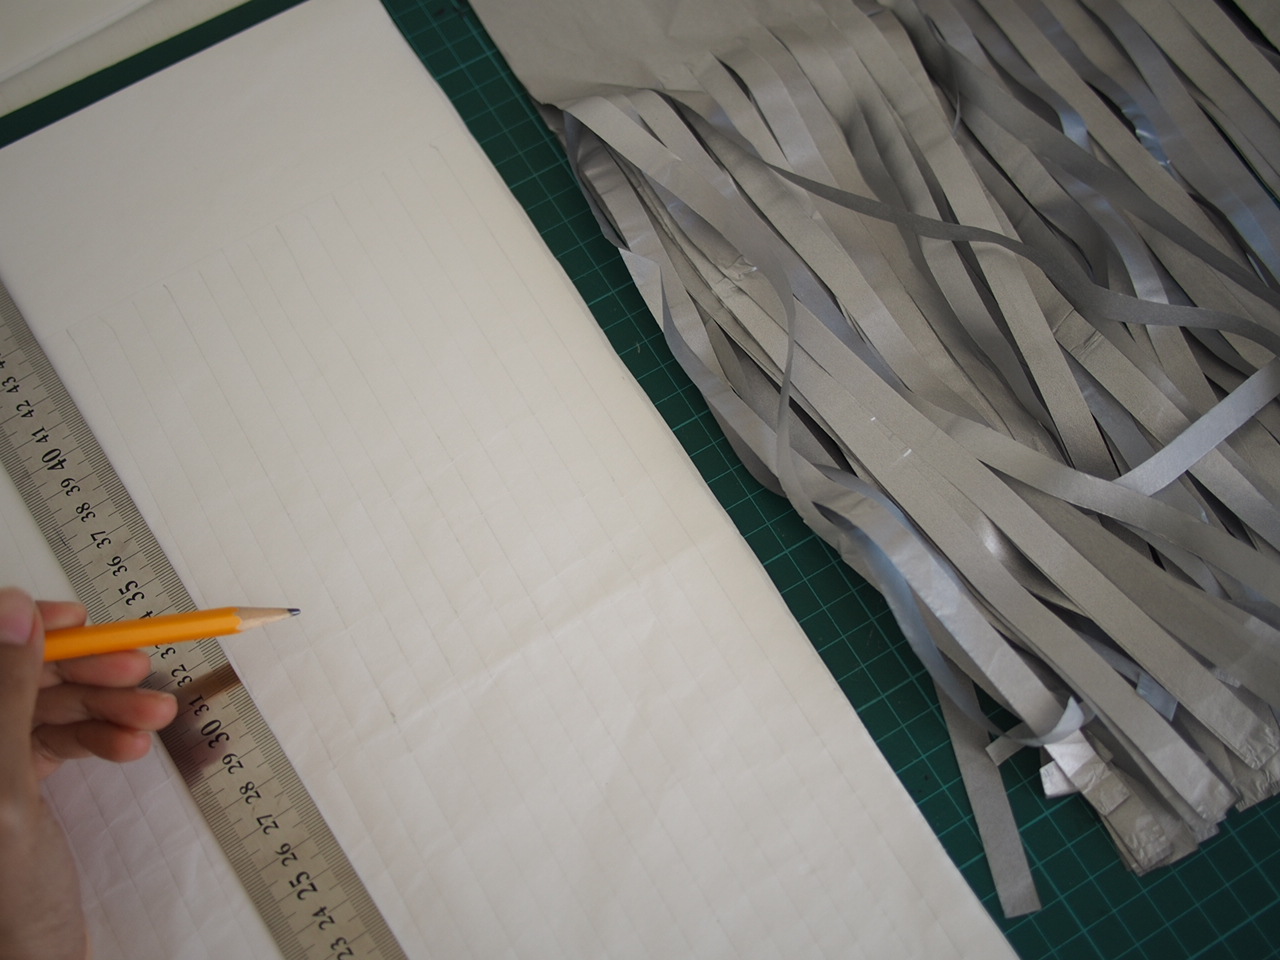
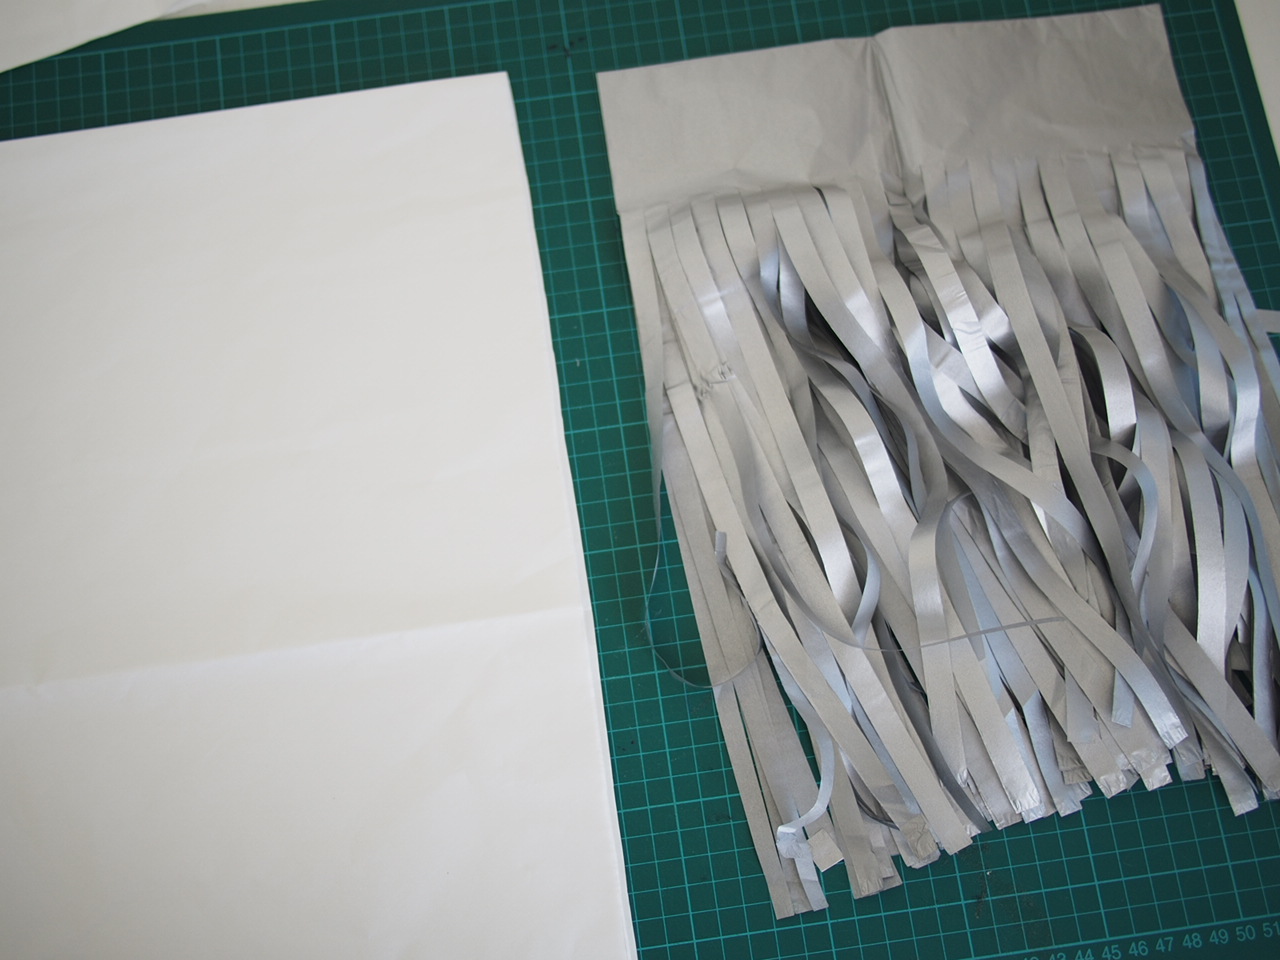
Draw lines 1 cm apart, leaving the top 7 cm unlined. I lined my white paper very gently so you might need to squint to see it!! For brighter or darker colors, it wont matter as much! Then cut using scissors!
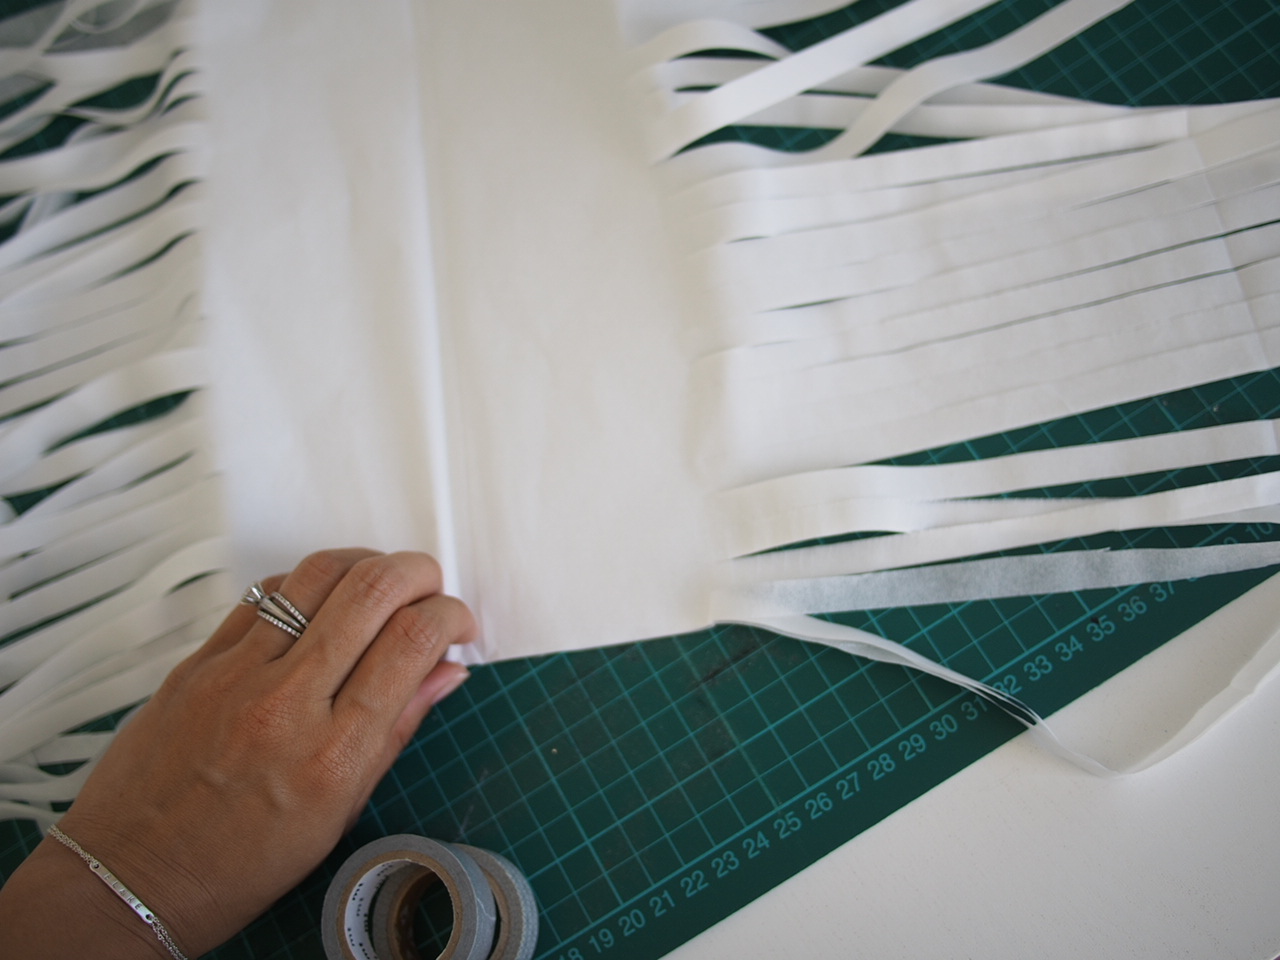
Open the fold and it would be a fringey mess like that! Start rolling from the base!
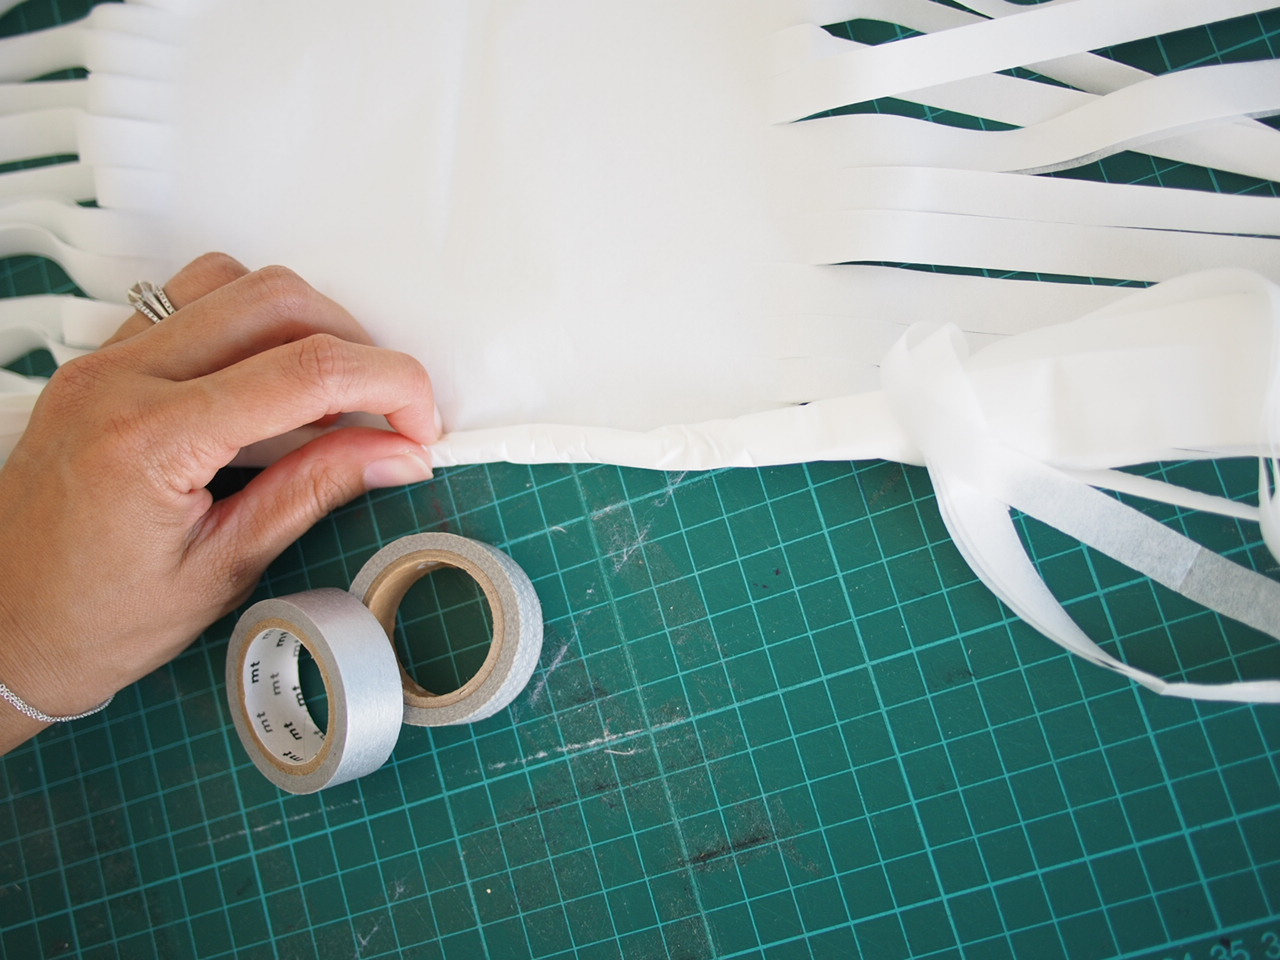
Comb through the tassels with your fingers if they get awfully tangled. Keep rolling to the top and you're almost done!
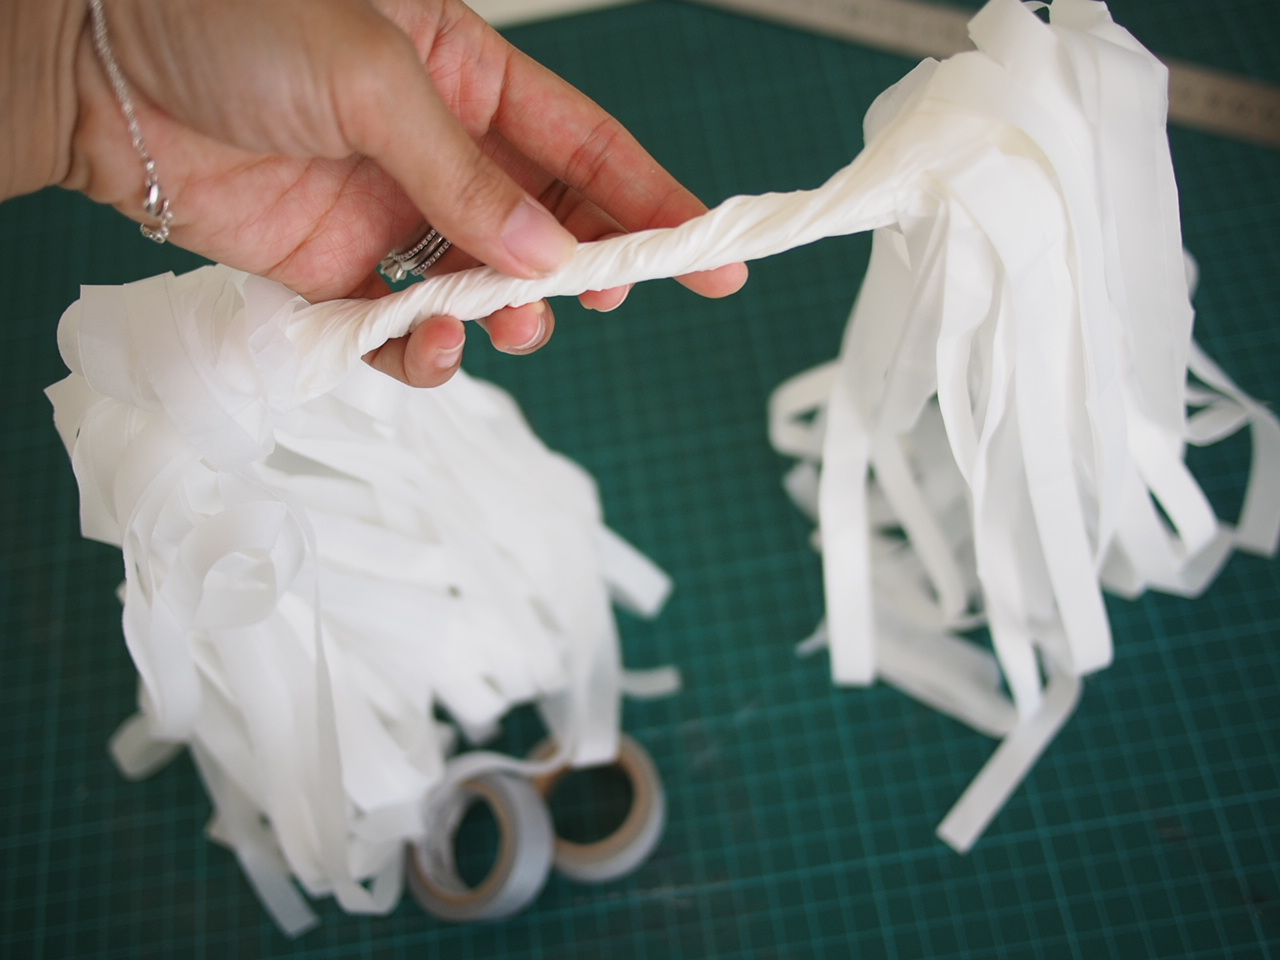
Twist the top to tuck things in neatly. If you want a smaller and less poofy tassel, use 2/3 pieces of tissue instead!!
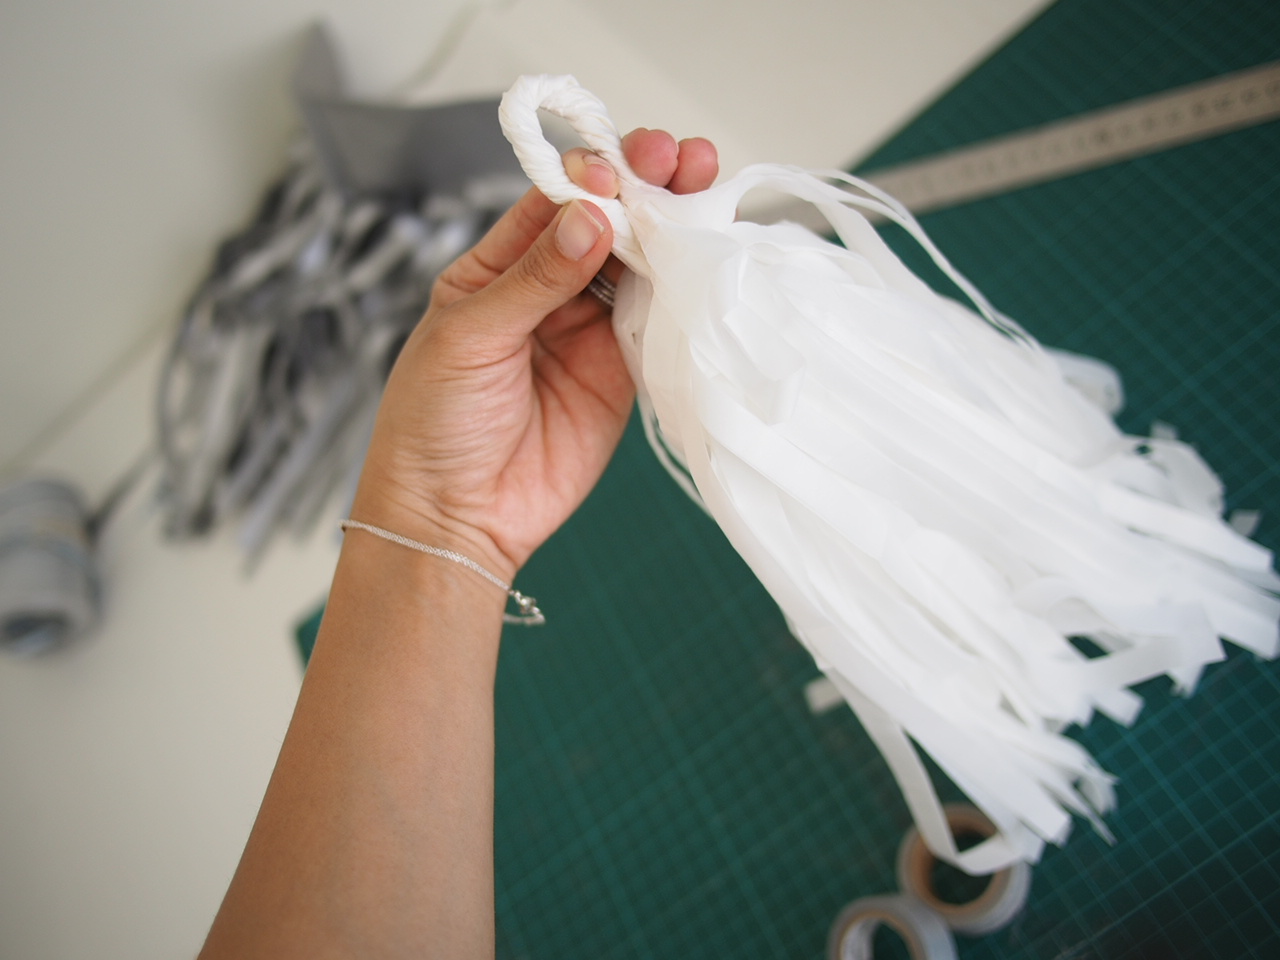
Twist the tops so it forms a loop and secure with washi tape!
String it through your ribbon and you're all done!
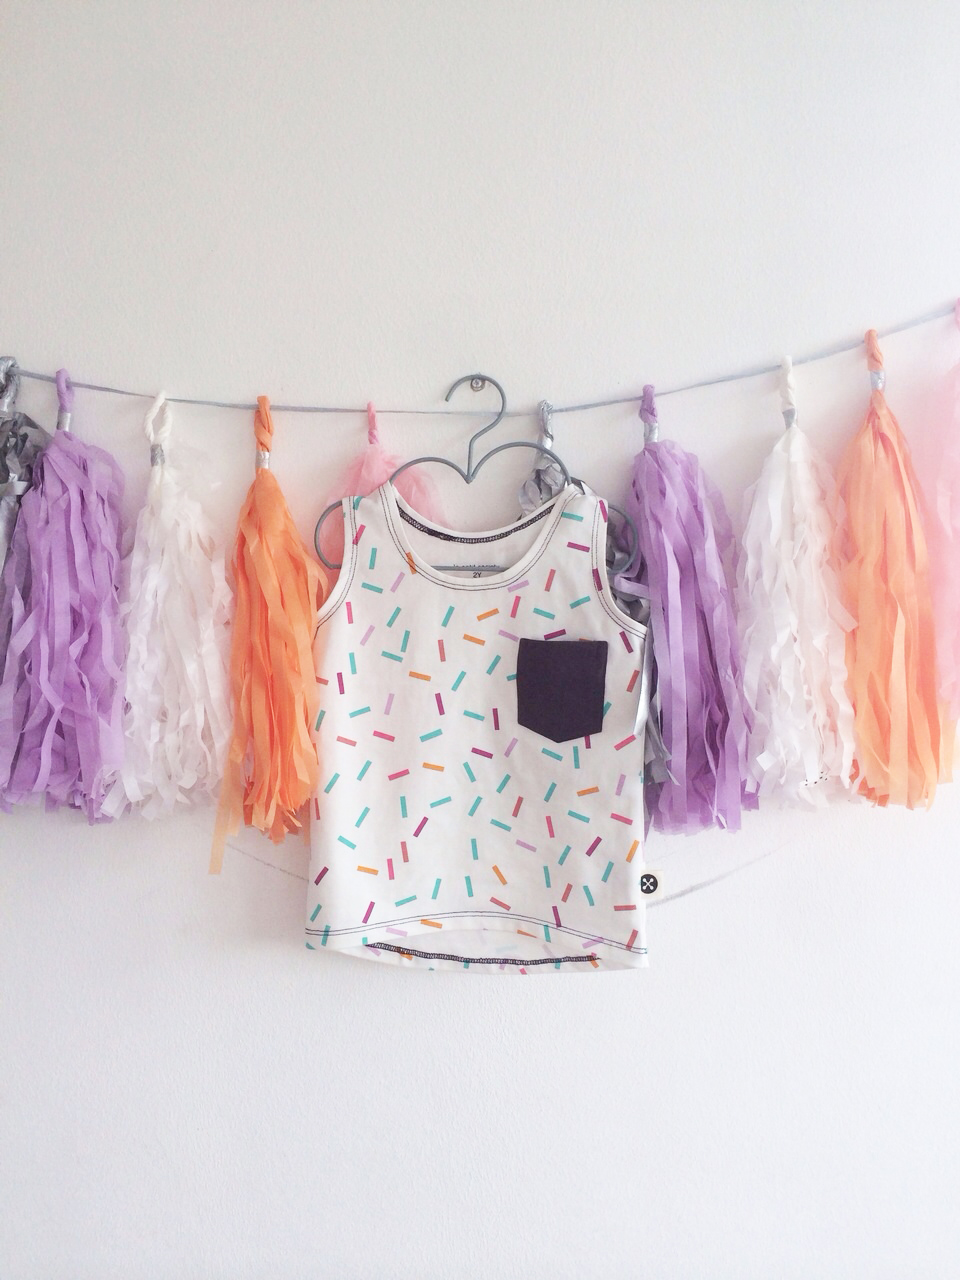
We love this craft because its versatile, you can make any variation of colors to match any theme!
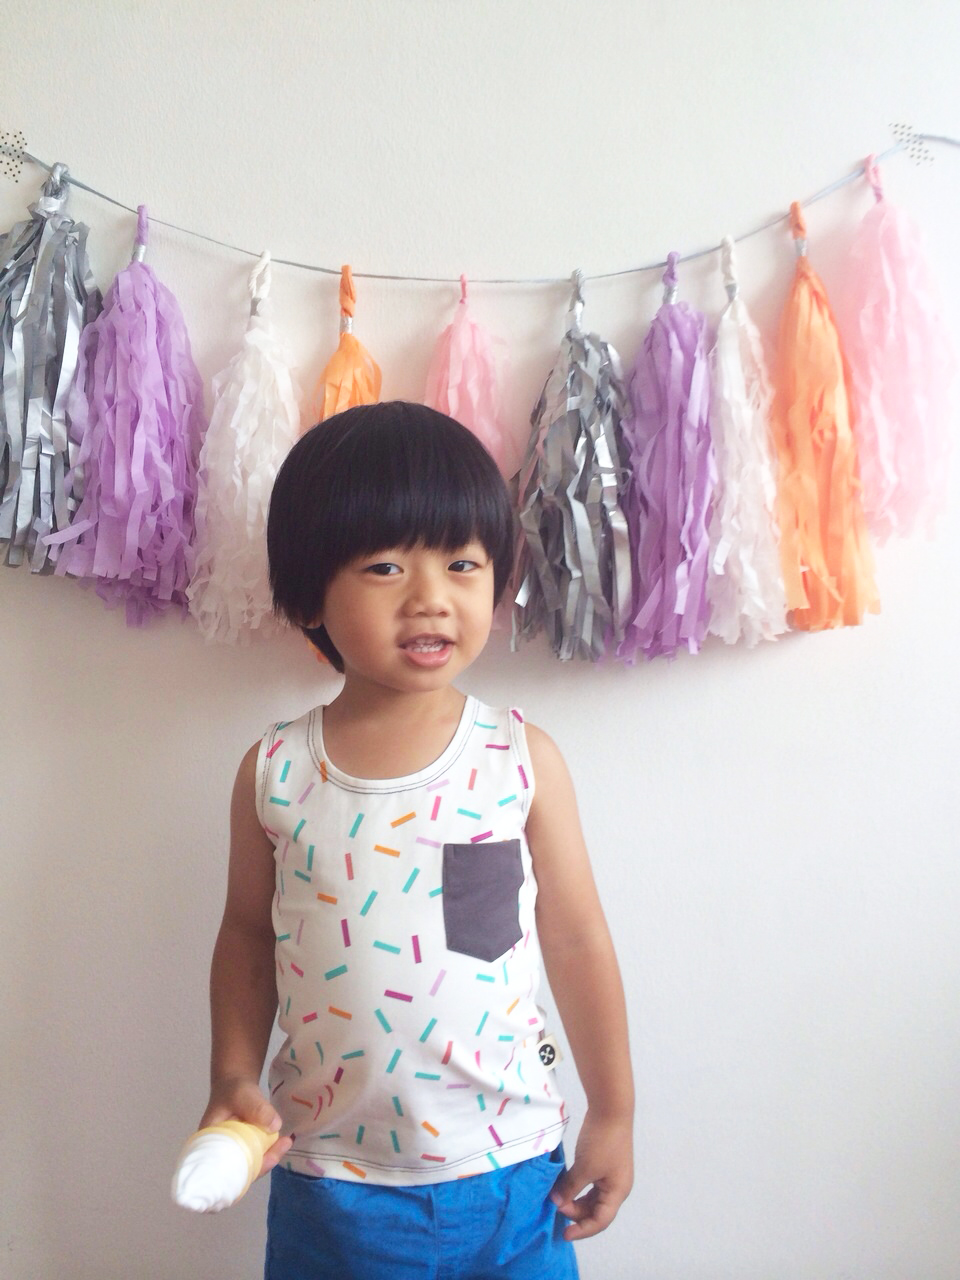
Say hello to Nathan our little model in his Sprinkles singlet!!
Happy Crafting!!
xoxo