05 November 2019
DIY - Floral Backdrop for Disney's Frozen 2 launch
Hey crafty moms- at Le Petit Society, we love to DIY!
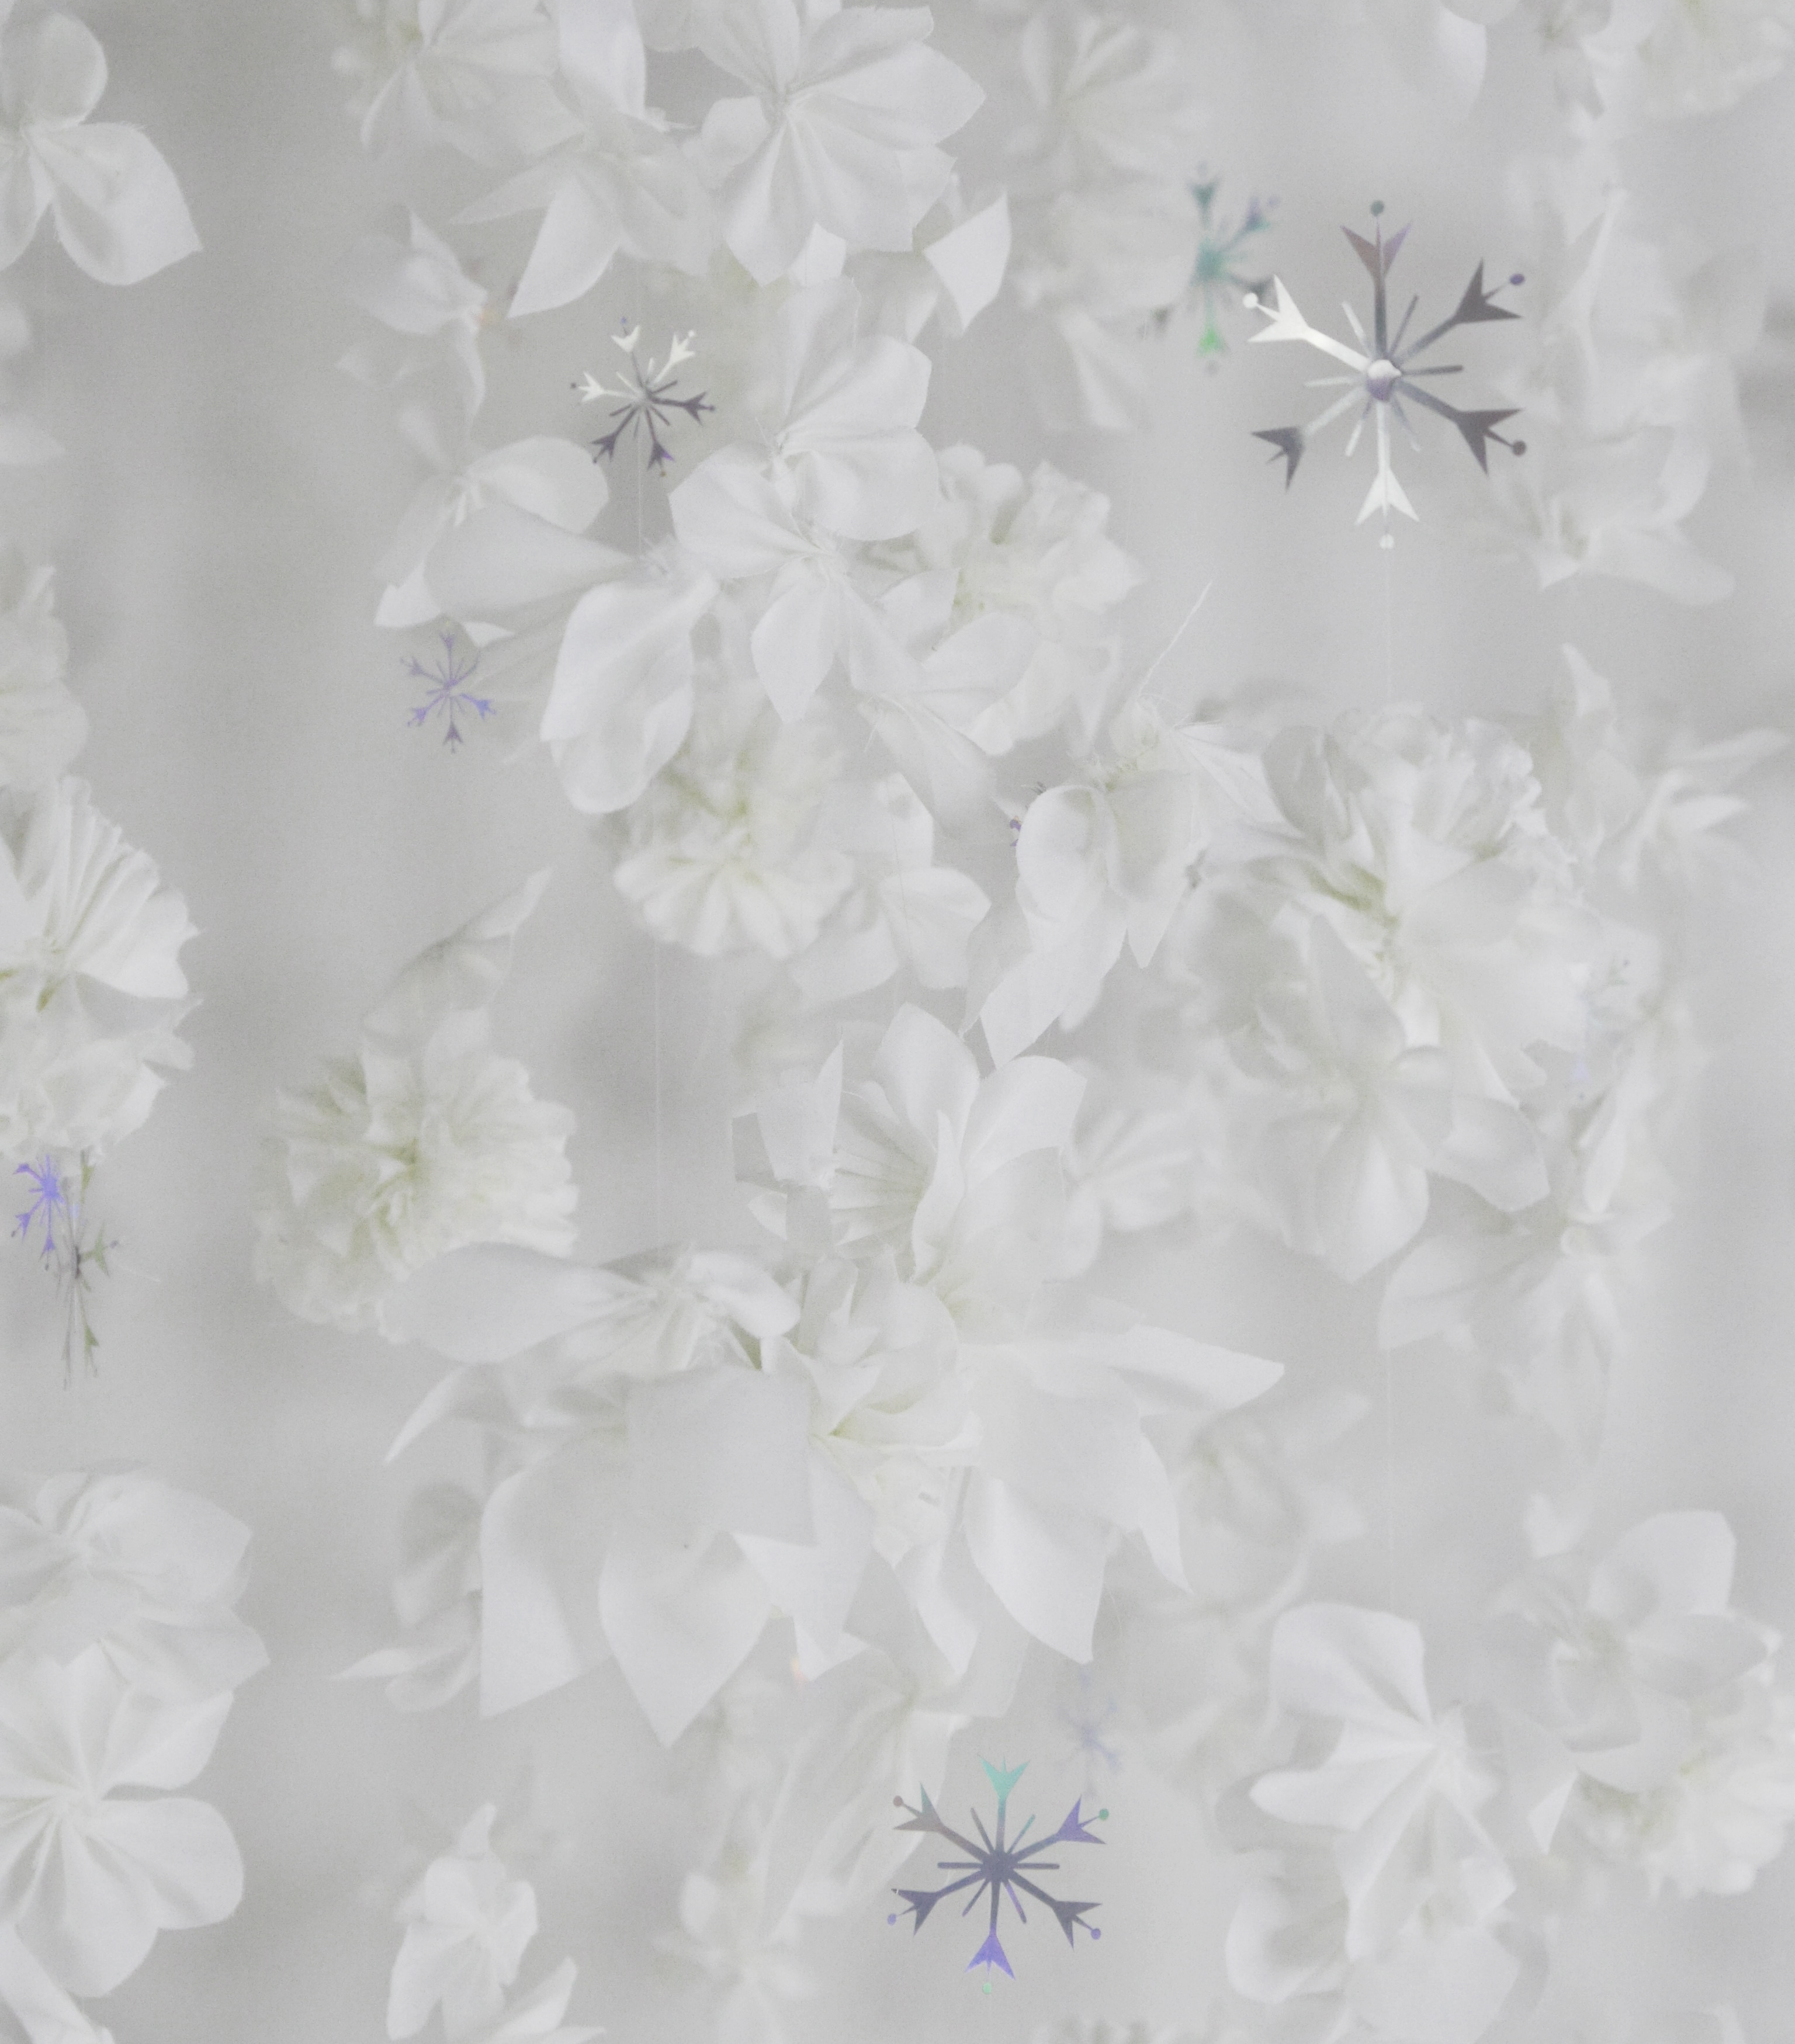
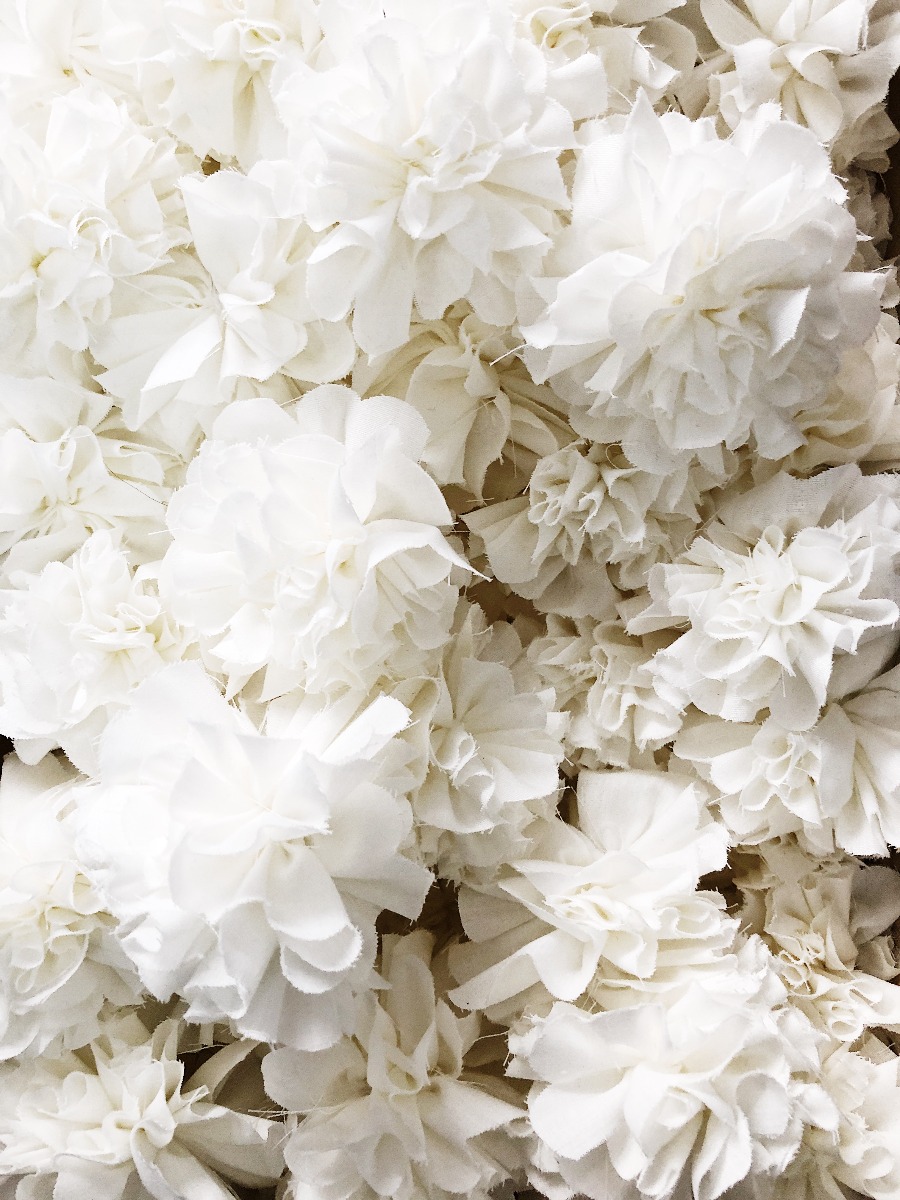
For the launch of our Frozen 2 collection, we did our most elaborate backdrop yet consisting of wall hangings of over 3000 flowers and snowflakes, all hand made right at our office!
This holiday season, we’d like to show you how to do it too! This DIY will teach you how to create wall hangings of white flowers and silver snowflakes with your little girls. It’s a great bonding activity and makes the cutest room décor for the holiday. It's also great for a photoshoot!
The wall hangings consisted of two types of white flowers (petal and pompom) and holographic snowflakes. In this DIY post, we're focusing on the flowers. To make a 1 meter long wall hanging you will need 17-18 flowers. You can follow this as a rule of thumb while deciding how many flowers you want to make.
To make one wall hanging, simply string together the flowers with the same white thread and needle. We added a couple holographic silver snowflakes to ours for an extra bit of sparkle and magic! We made these using our cutting machine.
If you would like to add snowflakes as well, simply fold the paper you are using (we recommend something glittery or metallic) and cut the pattern that you want. There are several different styles that you can find online which are incredibly easy and very effective.
Let's start the flower DIY!
Materials
Half a meter of white cotton cloth (you can use any colour based on your style)
A ruler
White thread (or any thread that matches)
Sewing Needle
Fabric Scissors
A pencil
Creating the petal flower
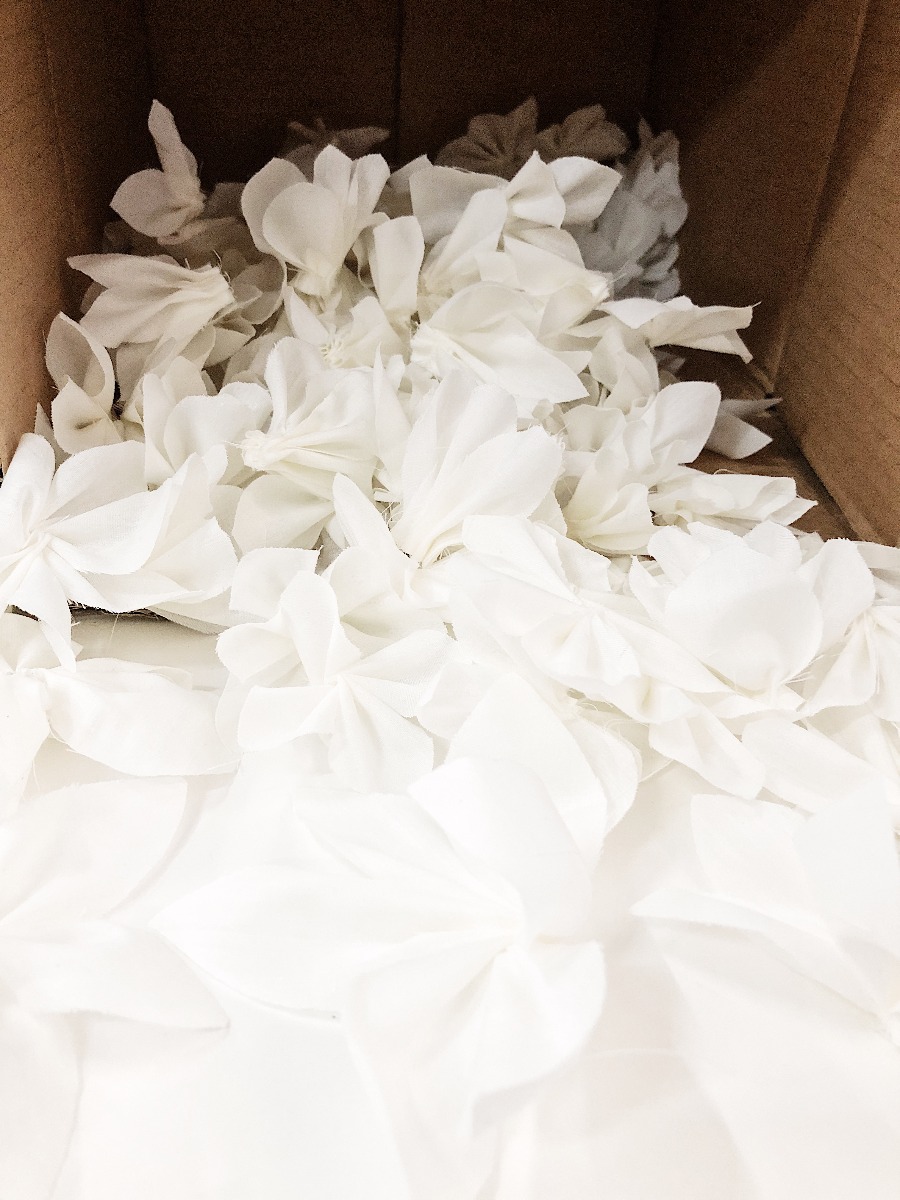 White Petal Flowers
Step 1
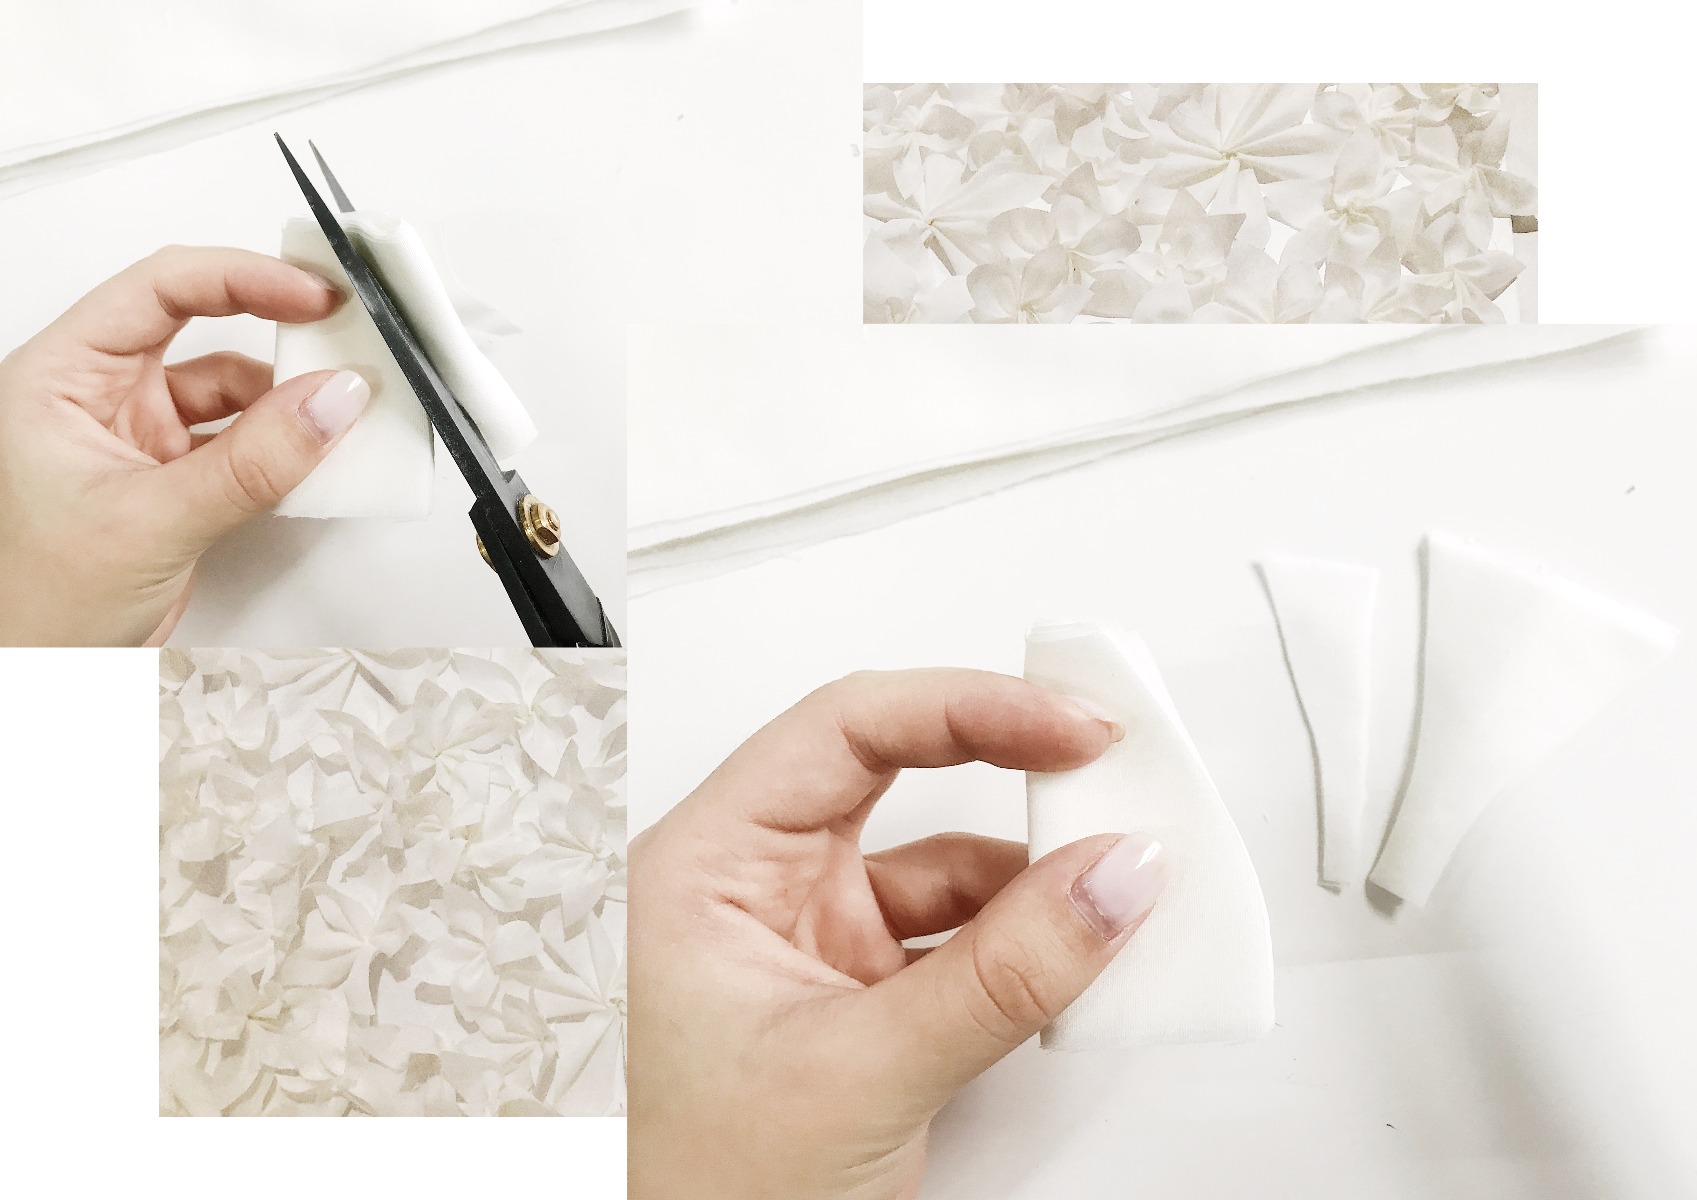
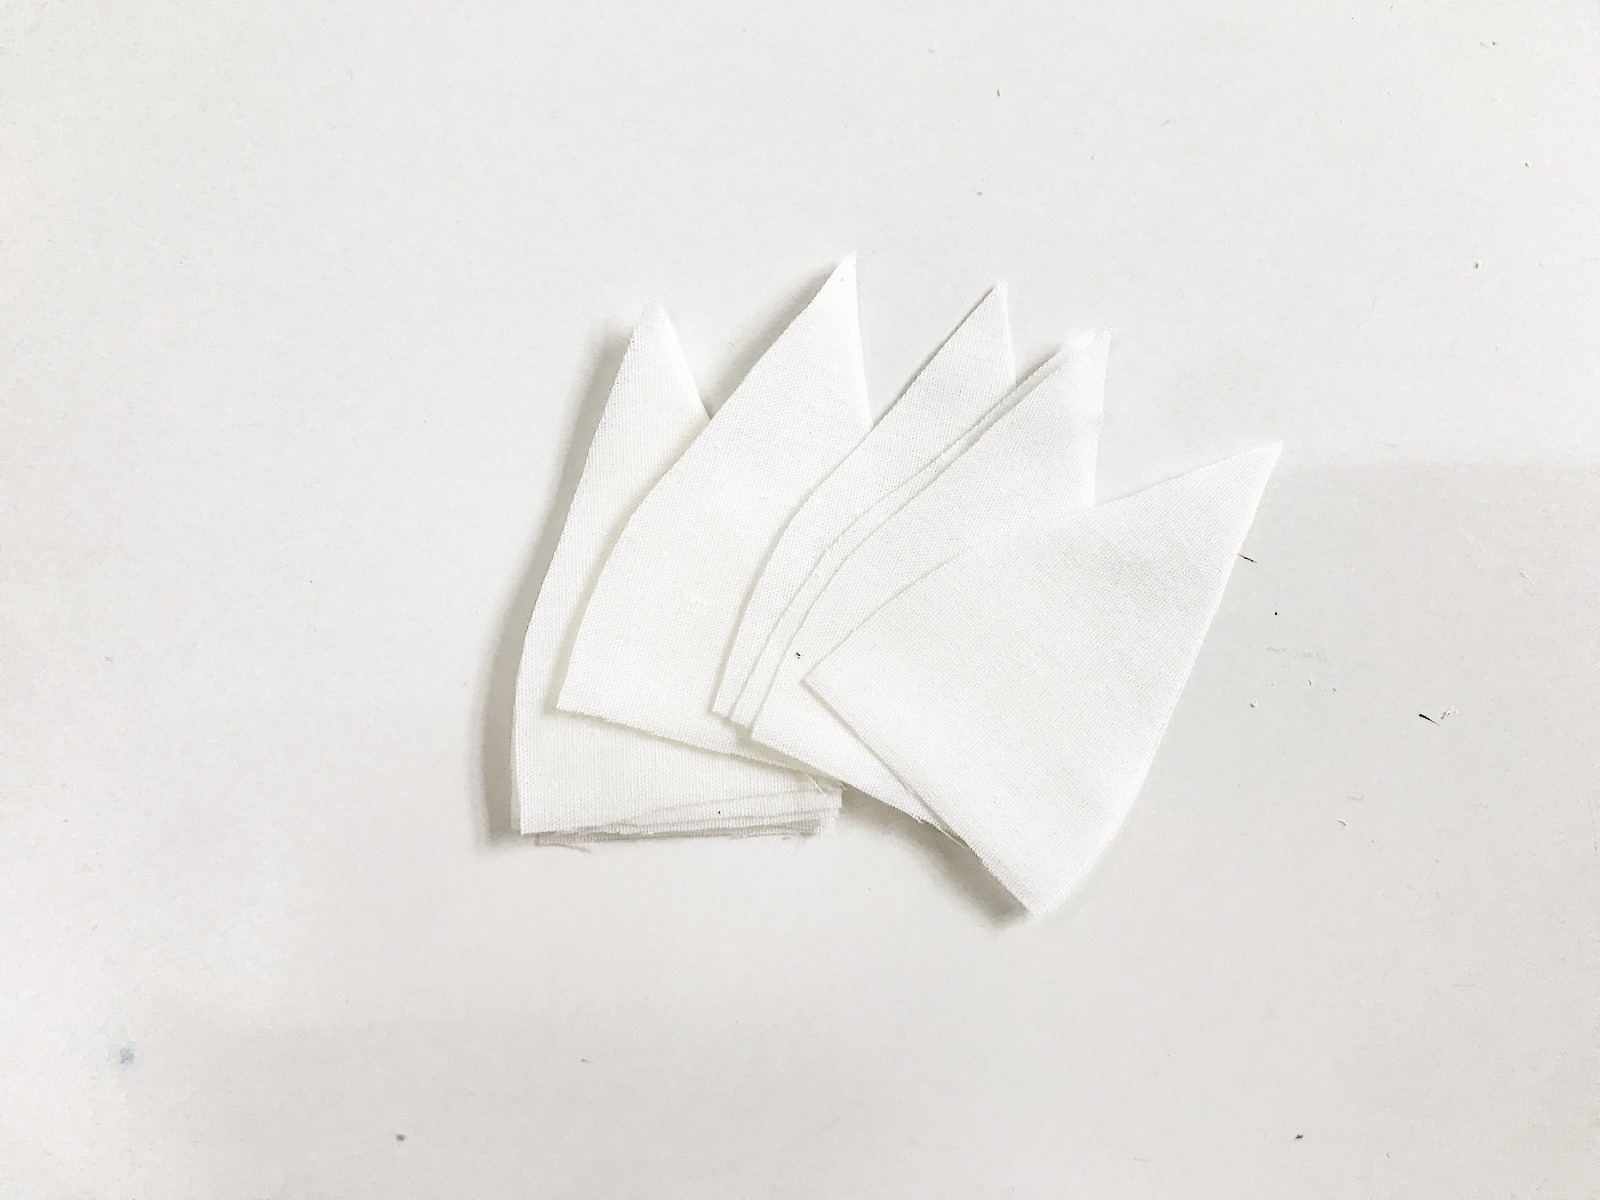
Measure squares of 4cm by 4cm and draw them out with pencil onto the fabric. For one flower you can use four, five or six squares depending on how many petals you want. Cut the squares out of the fabric.

White cotton strips for the petals
Step 2
These squares become your petals. The next step is to cut the squares to resemble petals. Group 6 squares together (or how many ever you are using for one flower) and fold them in half and hold in one hand. Cut a curved line along the top as shown in the image below.
 The shape of the petals
Step 3
After turning the squares into your petals, you are ready to string the petals together. Put your white thread in your needle and tie a knot at the end. Do a zig zag fold at the base of each petal and string them into the thread as shown.
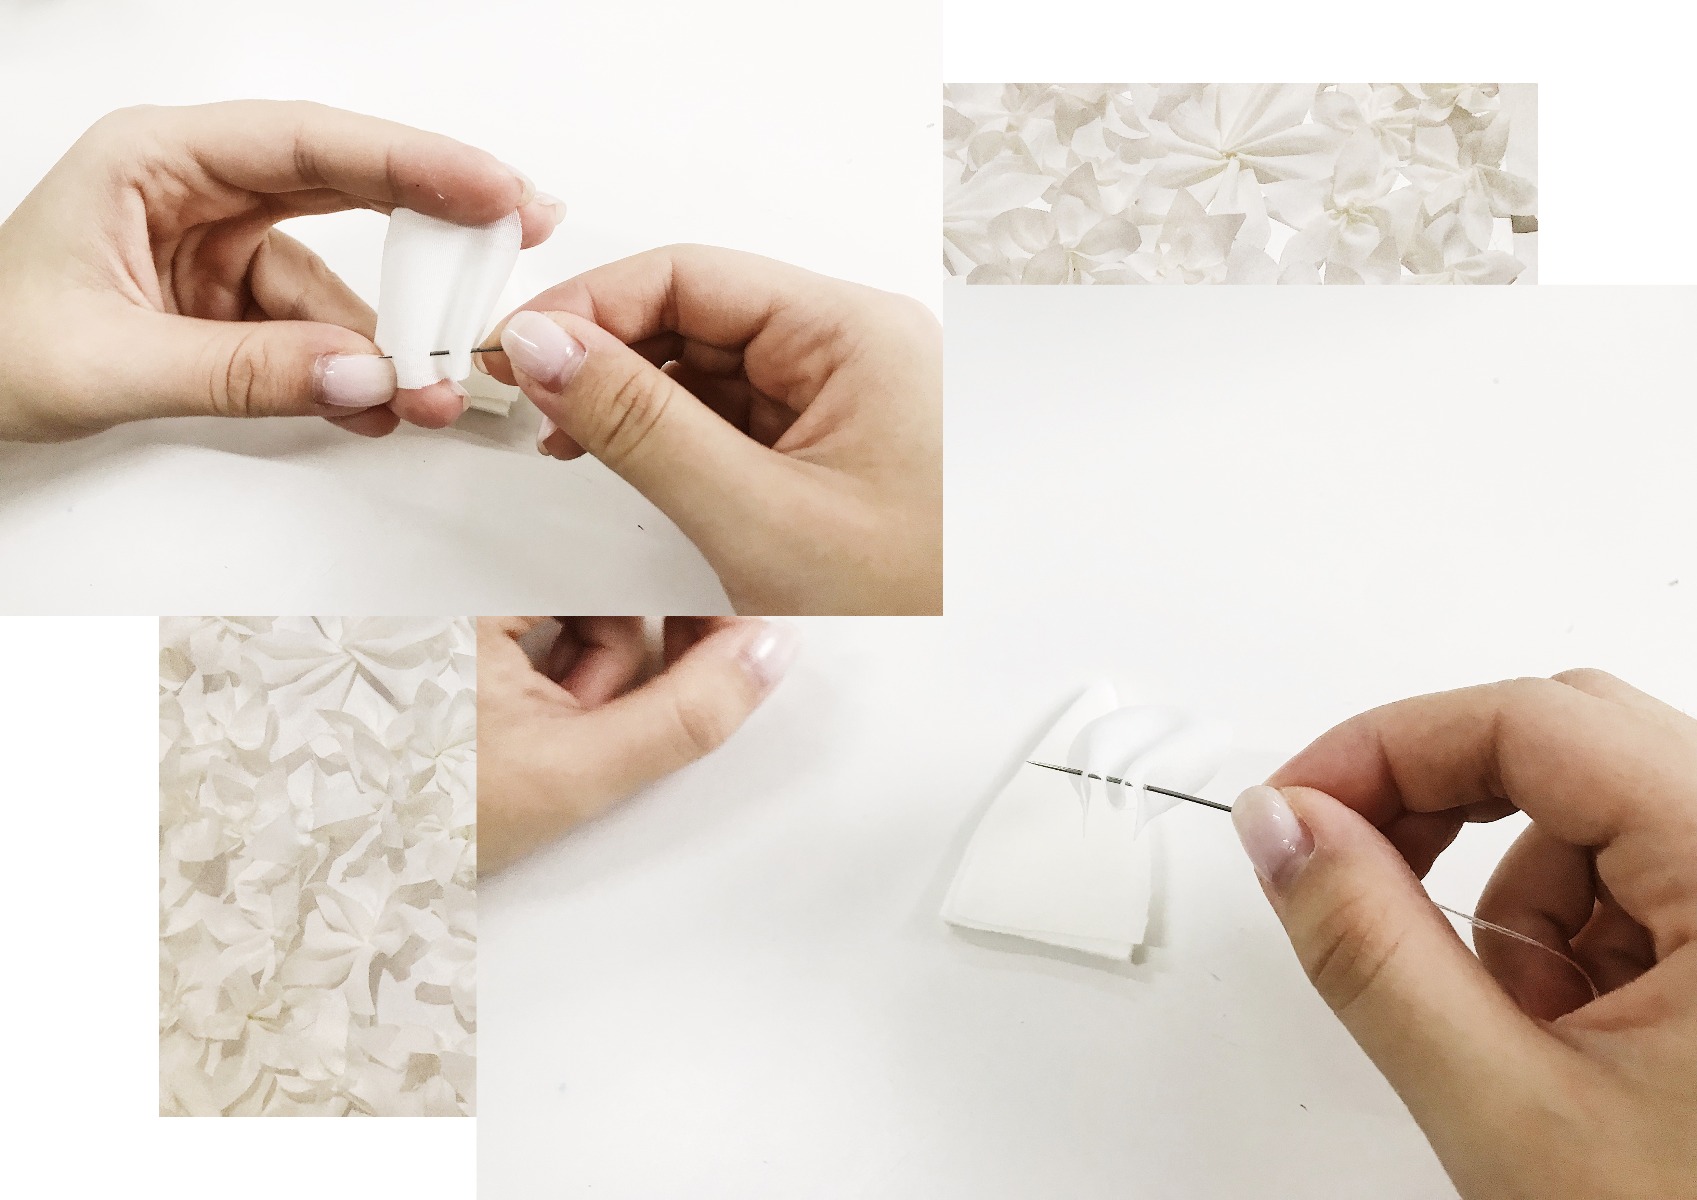
M-Shape at the base
Step 4
String all the petals together in a circle as shown in the image. After stringing the last petal in, loop back to the first petal and tie a knot. Then you can tighten at the base and adjust as you need. Fold each petal outwards for volume, as you see fit. Voila! You have your first flower.
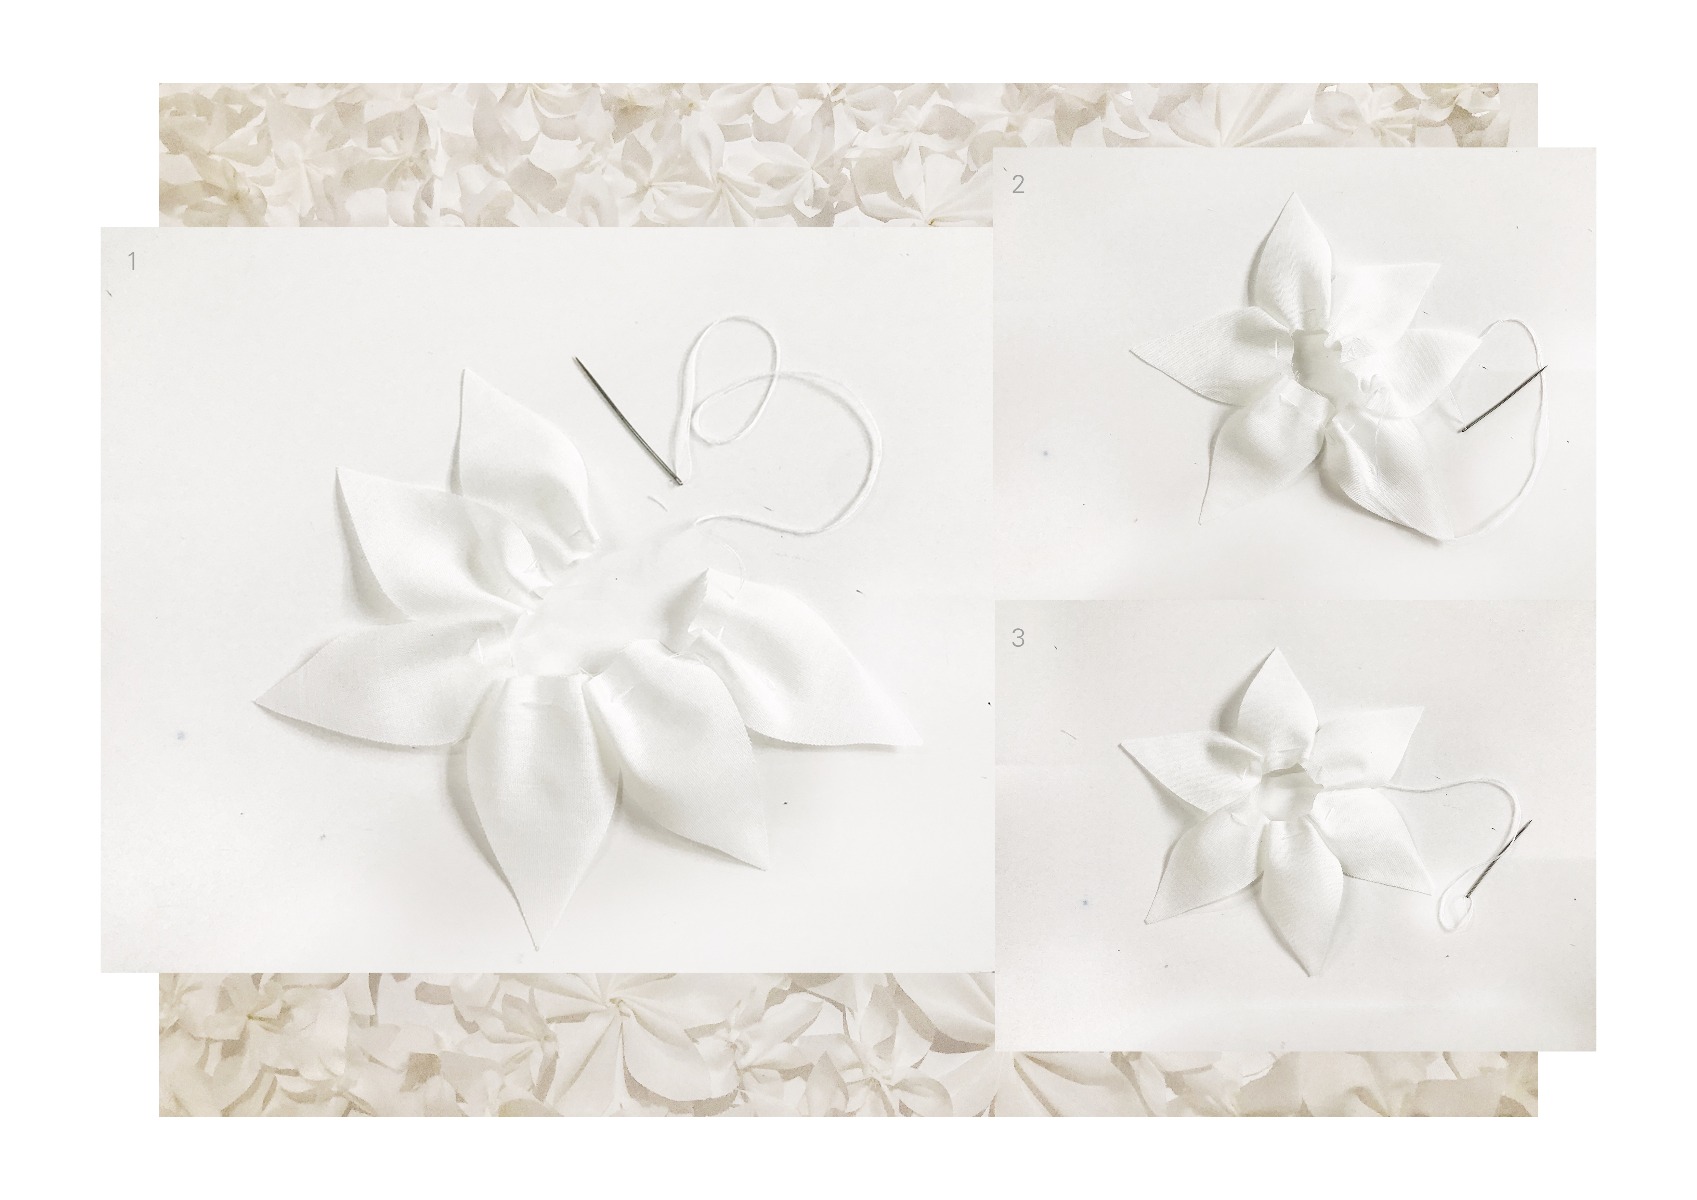
Stringing the petals together
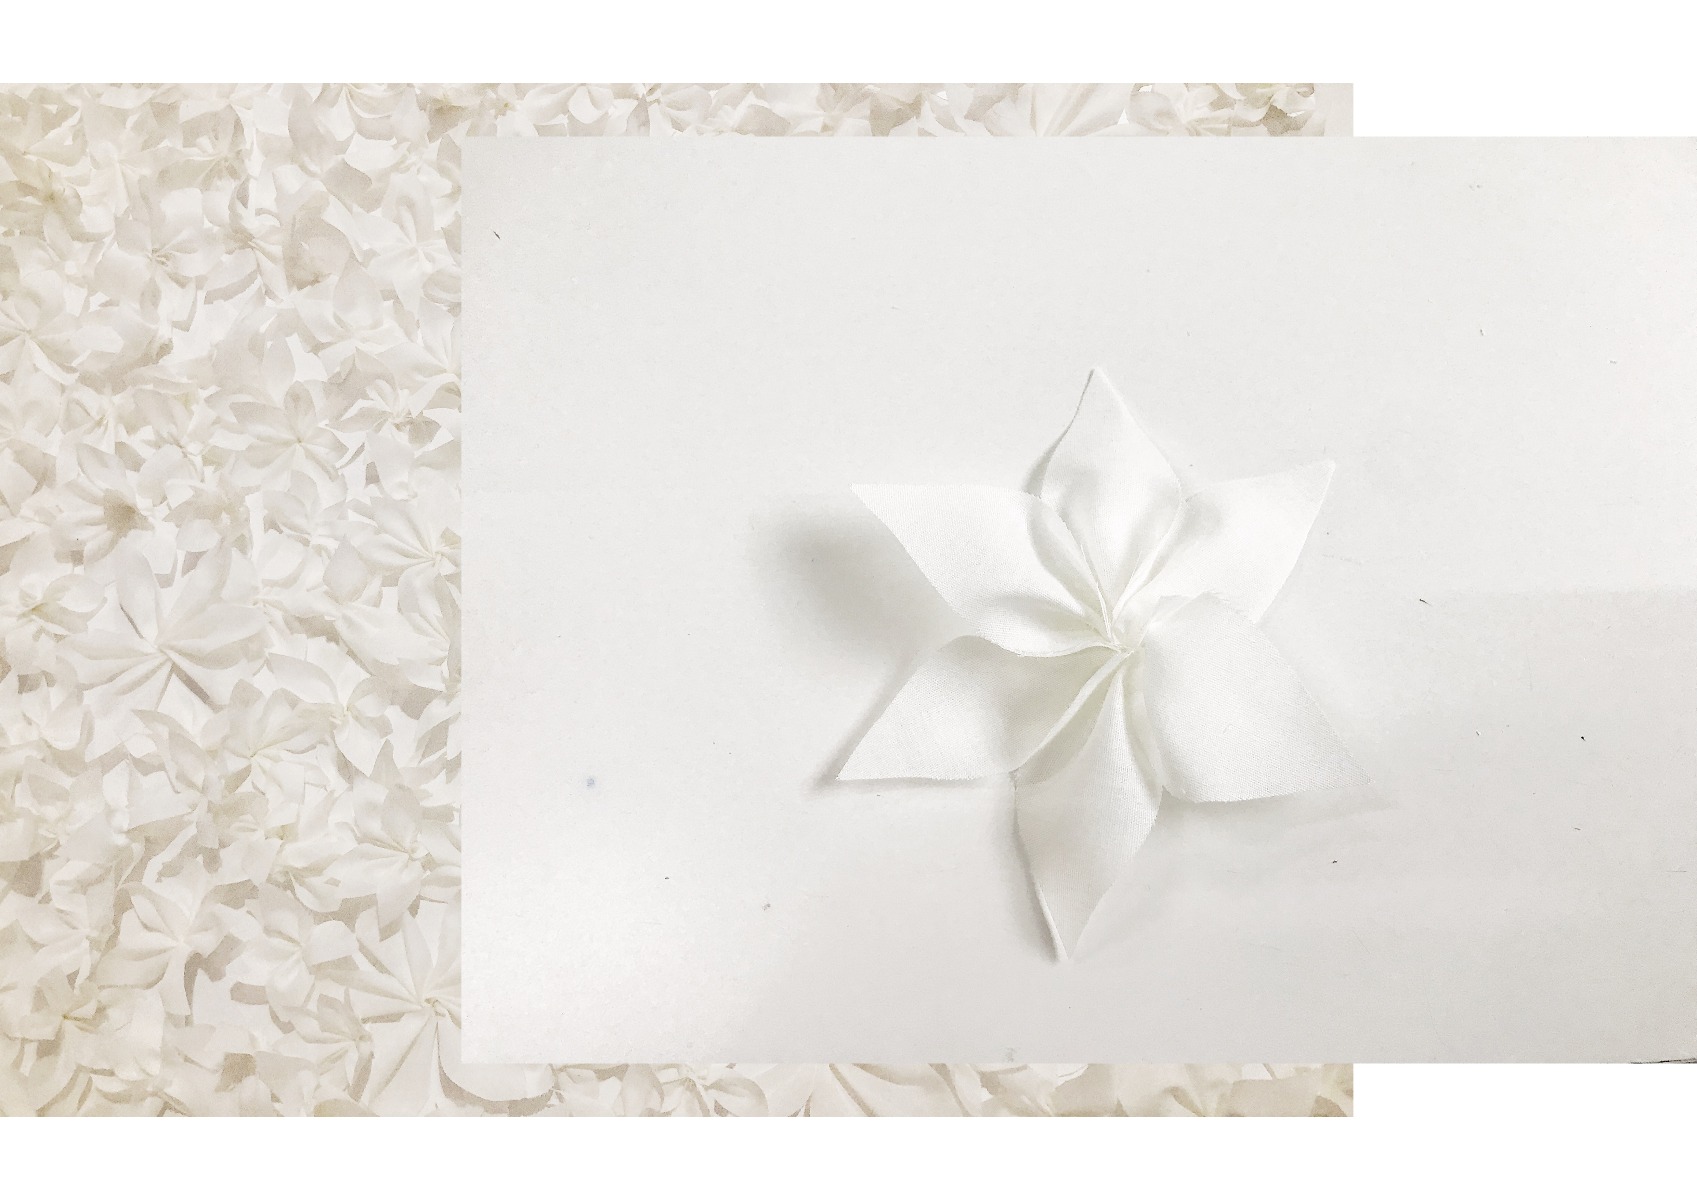
The final outcome of the petal flower
Creating the flower pom poms
To accompany the petal flowers, we created little pom pom looking flowers, similar to carnations. They are made with the exact same materials as the petal flower and they add a lot of volume and lightness to your wall hanging.
This is important to see in motion, so we made a video instructing you how to create these. It's really a lot more simple than it looks!

We love creating unique props for our photoshoots because its so much more personal that way. If you guys make any of these sweet flowers, post it on your social media and tag us - we'd love to see!
Happy crafting, mums!